AWS S3
Purpose
To deliver unprocessed raw data collected by Airbridge to a client's AWS S3 bucket. Below are the three types of raw data that can be sent.
- Web Event: Events collected from the Web SDK.
- App Event: Events collected from both Andriod and iOS SDKs.
- Tracking Link Event: Impression or click events collected from ad channels.
The transmitted data can be directly processed by the client for in-depth analysis.
AWS S3 Integration Through AWS Access Key and Secret Key
Sign-in and create a bucket (S3)
- Sign in to AWS S3.
- Click "+ create bucket" and create a new bucket.
- No additional values are necessary for properties and permissions.
Create Policy (IAM)
- Click "Policy" on the left side of your AWS IAM page.
- Go to "Create Policy", select the JSON tab and paste the string below. (Replace
<bucket_name>with the target bucket)
{
    "Version": "2012-10-17",
    "Statement": [
        {
            "Effect": "Allow",
            "Action": [
                "s3:ListBucket"
            ],
            "Resource": [
                "arn:aws:s3:::<bucket_name>"
            ]
        },
        {
            "Effect": "Allow",
            "Action": [
                "s3:PutObject",
                "s3:GetObject",
                "s3:DeleteObject"
            ],
            "Resource": [
                "arn:aws:s3:::<bucket_name>/*"
            ]
        }
    ]
}- Click "Review Policy" and then "Create Policy" after configuring the policy name.
Add User and Link to Policy (IAM)
- Click "User" on the left side of your AWS IAM page.
- Select "Add User", check "Programming Method Access" from "Select AWS Access Type", and click "Next: Permission".
- Click "Directly Link to Previous Policy", select the previously created policy , and click "Next: Review".
- Save the "Access Key ID" and "Secret Access Key" as you complete adding a user. (Click "Show" to view your secret access key).
Name | Description | Example |
|---|---|---|
AWS_ACCESS_KEY_ID | The AWS access key that will provided to Airbridge | CVAGZUZYPUTPHGXSXJGW |
AWS_SECRET_ACCESS_KEY | The AWS secret key that will provided to Airbridge | XWzquDaznQDZieXPNnjimjNzhxnCVp |
Add Credentials to Airbridge Dashboard
- At the Airbridge Dashboard, go to "Integrations → Third-Party Integrations → Amazon S3"
- Enter information accordingly: < (1) Access Key ID, (2) Secret Key, (3) Region, (4) Bucket Name >
Region information must be entered as the region code of your bucket. The region code for each region can be found at AWS Docs.
Name | Description | Example |
|---|---|---|
REGION | The AWS region that your bucket is using | ap-northeast-1 |
BUCKET_NAME | The name of your bucket | your_bucket_name |
AWS S3 Integration Through AWS IAM Roles
Sign-in and Create a Bucket (S3)
- Sign in to AWS S3
- Click "+ create bucket" and create a new bucket
- No additional values are necessary for properties and permissions
Create Policy (IAM)
-
Click "Policy" on the left side of your AWS IAM page.
-
Go to "Create Policy", select the JSON tab and paste the string below. (Replace
<bucket_name>with the target bucket){ "Version": "2012-10-17", "Statement": [ { "Effect": "Allow", "Action": "s3:ListBucket", "Resource": "arn:aws:s3:::<bucket_name>" }, { "Effect": "Allow", "Action": [ "s3:PutObject", "s3:GetObject", "s3:GetObjectVersion", "s3:DeleteObject", "s3:DeleteObjectVersion" ], "Resource": "arn:aws:s3:::<bucket_name>/*" } ] } -
Click "Review Policy" and then "Create Policy" after configuring the policy name.
Create IAM Role and Forward Information to Airbridge
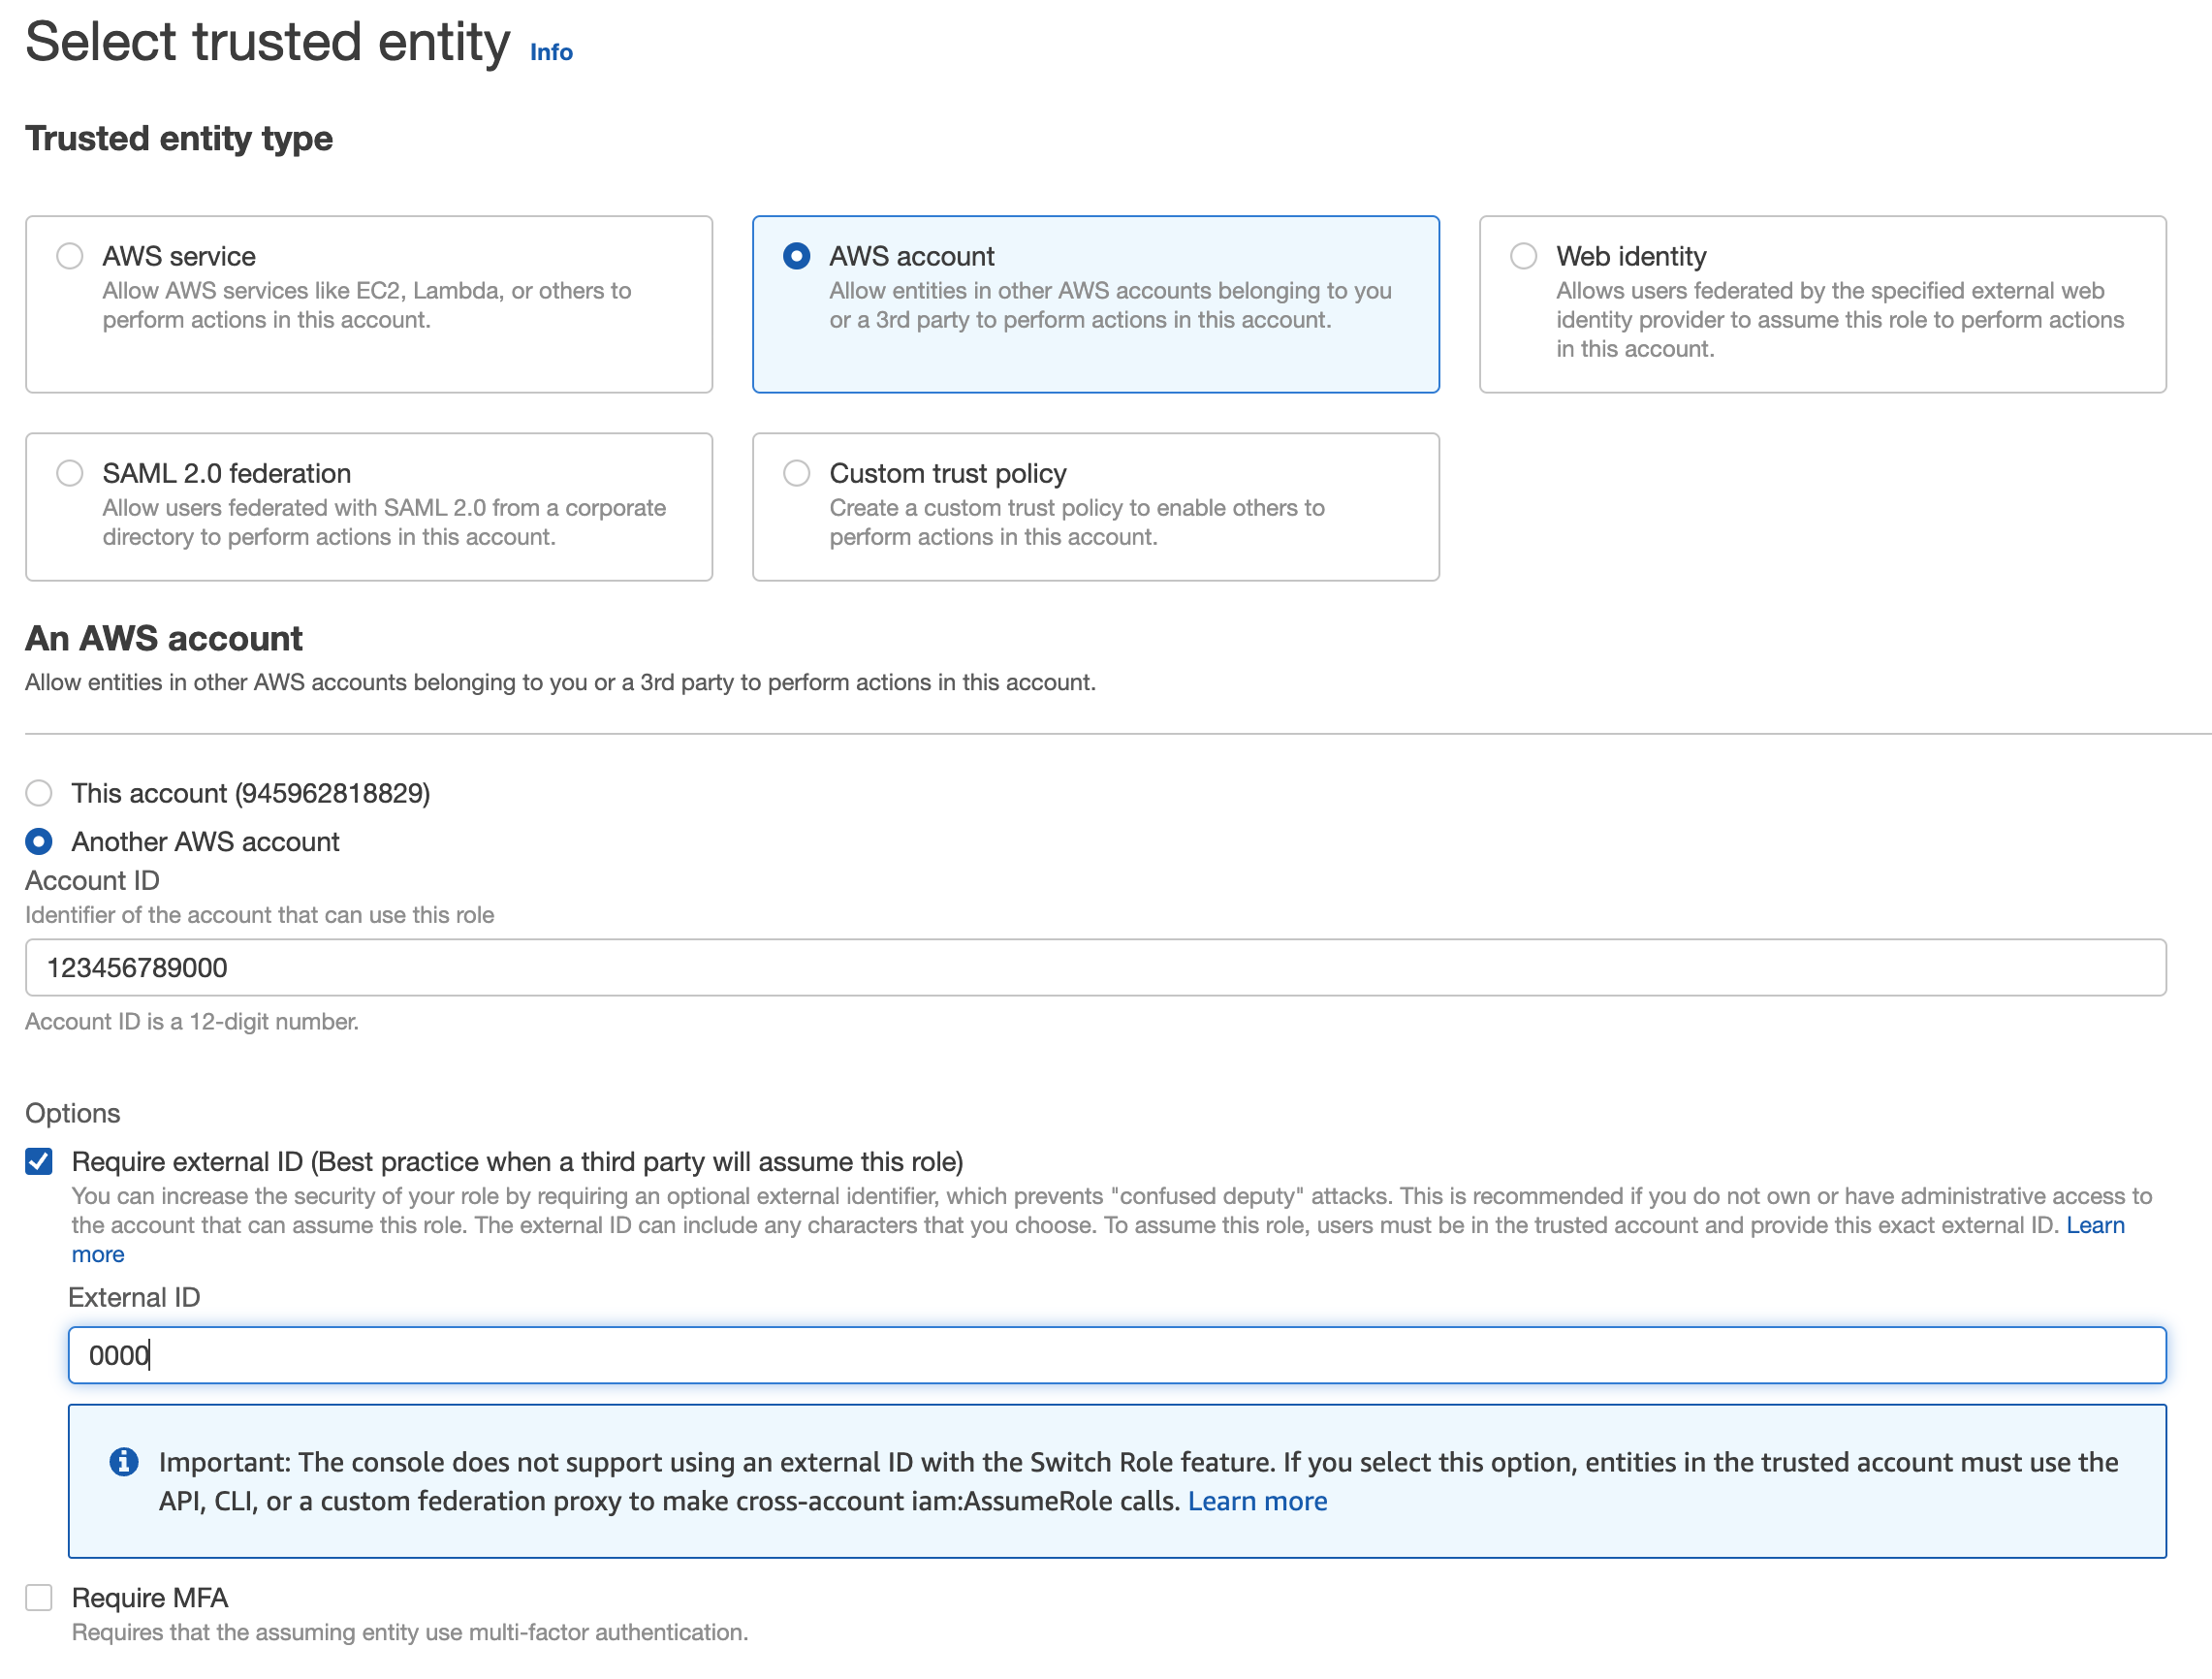
- Create an IAM role as "Another AWS Account" for the above policy. Temporarily use your AWS Account ID and
0000for the external ID. The values will be replaced later on.

-
Take note of your role ARN.
-
Forward the following information to your Airbridge CSM.
- Bucket Name (
<bucket_name>) - Bucket Region (ex.
ap-northeast-2) - IAM Role ARN (
arn:aws:iam::<aws_account_id>:role/<arn_role_name>)
- Bucket Name (
Register the ARN and External ID Received from Airbridge
-
Airbridge will send you an
iam_user_arnandexternal_id. -
Configure a "Trust Relationship" with the previously created IAM Role.
{ "Version": "2012-10-17", "Statement": [ { "Effect": "Allow", "Principal": { "AWS": "<iam_user_arn>" }, "Action": "sts:AssumeRole", "Condition": { "StringEquals": { "sts:ExternalId": "<external_id>" } } } ] } -
Let your Airbridge CSM know once setup is complete. S3 dumps will then start on the agreed upon date.
Verify Data
Data Path
When the integration is complete, raw data will be dumped to the locations below in .csv.gz format.
- App Events:
${YOUR-BUCKET-NAME}/${YOUR-APP-NAME}/app/${VERSION}/date=${year}-${month}-${day}/ - Web Events:
${YOUR-BUCKET-NAME}/${YOUR-APP-NAME}/web/${VERSION}/date=${year}-${month}-${day}/ - Tracking Link Events:
${YOUR-BUCKET-NAME}/${YOUR-APP-NAME}/tracking-link/${VERSION}/date=${year}-${month}-${day}/
Data Column Specifications
The data specifications for each event sources are shown in this link. The "Column Name" columns will be used as csv headers.
Additional Notes
- Data will be dumped daily between 04:00 and 06:00 KST.
- Airbridge will dump data based on the event collection time, not based on the time that the event occurred. For example, events that have been collected by Airbridge between April 2nd 00:00 KST and April 2nd 24:00 KST will be dumped around April 3rd 04:00~06:00 KST. Since Airbridge collects events from up to 24 hours ago, events that occurred on April 1st may be included in the April 3rd dump.
- Data will be dumped as files that do not exceed 128MB. Please make sure that all files are loaded when utilizing data.
- There are cases where ".csv.gz" files are downloaded as ".csv" at the Google Cloud Storage console. If this is the case, change the ".csv" extension to ".csv.gz" and extract the file using commands such as
gunzip.
Updated 8 months ago
